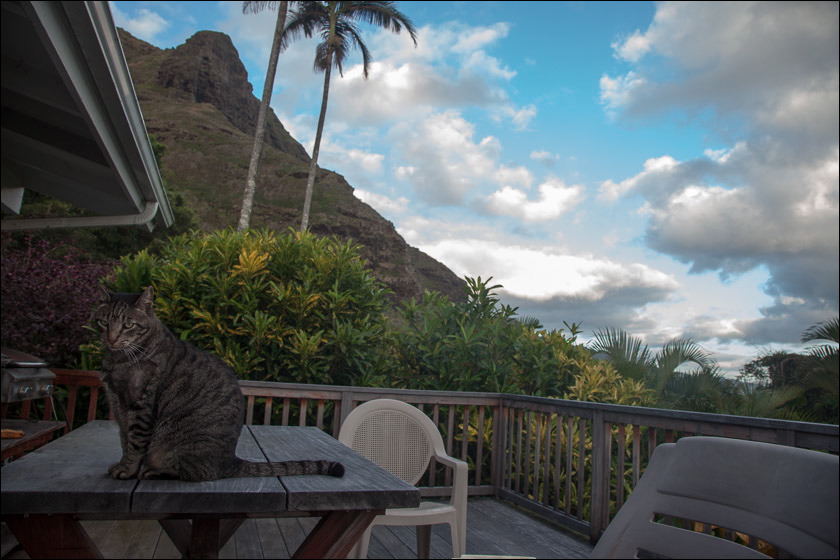
And here's Romeo again, this time in context.
Photograph by Ian Lind